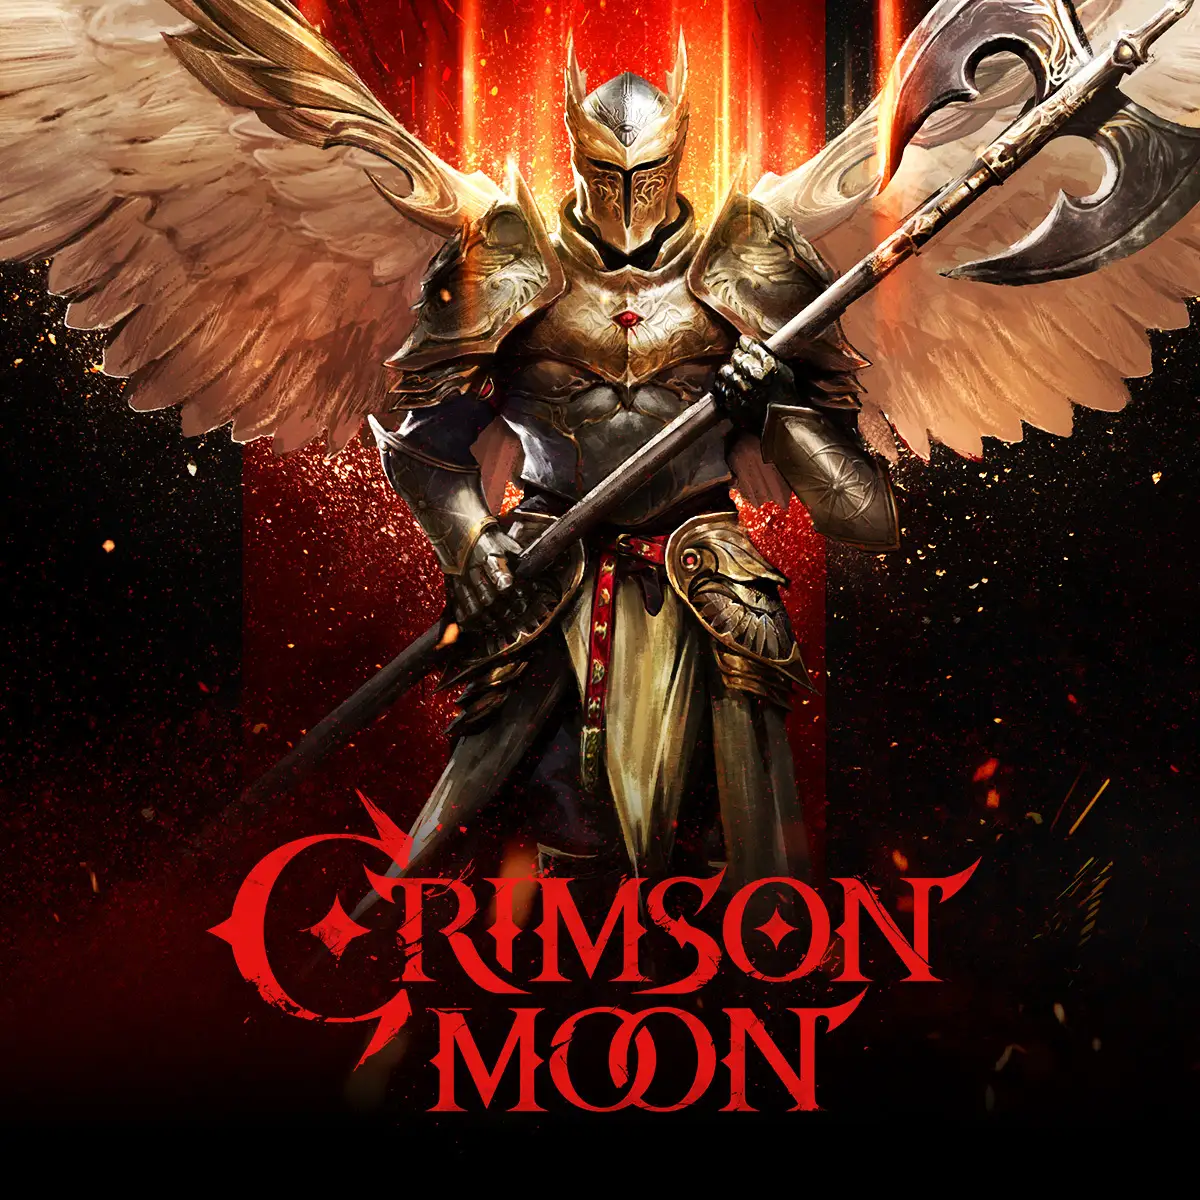
Crimson Moon does not ask you to pick a class. Your weapons, armor, trinkets, Weapon Arts, Boons, and chosen Angel define the build you take into each Hunt. Start by learning the Mission loop, exploring before each Nexus Gate, and securing the Gear you want to use again.
Search side paths before opening a Nexus Gate. Passing through the Gate secures equipped and stored Gear, so it can survive even if the Mission later ends in failure.
Before Your First Hunt
- Visit the Loadout Station in Sanctus Clypeus and inspect every equipped slot.
- Choose a weapon setup and an Angel that support the same combat plan.
- Take a Bounty from Gallant before leaving. Bounties reward you for defeating enemies you may already need to fight.
- Use the War Table to choose the next Ward and Mission.
Every Nephilim begins without a traditional class, so feel free to experiment early. A new weapon or Boon may give you a reason to change your plan during the Hunt.
Explore Before the Boss
Wards contain more than the main Mission route. Official guides show hidden chests, equipment, Lore Scrolls, secrets, regular enemies, elite encounters, and mini-bosses. Exploring these side paths can strengthen your current build and expand your options for later Hunts.
- Check side paths before advancing through a locked gate.
- Compare a drop by its Boons and how well it fits your build, not by rarity alone.
- Store promising gear in the Bag when you do not want to equip it immediately.
- Return Lore Scrolls to Mereda to unlock more Boons for later Hunts.
Death, Loot, and Purification
A Life Pool gives you multiple chances during a Mission. When it is empty, the Mission ends. There is no corpse marker and no return trip for loot left behind.
You keep collected XP, character levels, permanent unlocks, Lore Scrolls, some Souls, and Gear secured by passing through a Nexus Gate. You lose bonus completion rewards, part of your Souls, unsecured equipment, and Consumables found during the Mission.
Secured equipment returns in a weaker, purified form and joins the Armory. You can equip it at the Loadout Station before a future Hunt.
Your Hub Routine
| Stop | What to do |
|---|---|
| Gallant | Take Bounty Quests before the next Hunt. |
| Mereda | Return Lore Scrolls, unlock Boons, and review Blessings. |
| Lotte | Stock up on Trinkets, Throwables, and Consumables. |
| Gajov | Craft and upgrade weapons at the Blacksmith. |
| Loadout Station | Choose Gear from the Armory and select an Angel. |
Build, Co-op, and Difficulty
Once the base loop feels comfortable, make sure each part of the build supports the same plan. Match your Gear effects, Weapon Art, temporary Nexus Gate Boons, and chosen Angel. In co-op, combine effects that help each other instead of giving both players the same role.
Higher difficulty unlocks after you complete lower-level Runs and Missions. It rewards more XP and higher-Quality Gear. Move up when you can clear the current tier consistently with your permanent Loadout.
Frequently Asked Questions
Do I choose a class in Crimson Moon?
No. Crimson Moon uses a classless build system defined by Gear, Weapon Arts, Boons, and an Angel.
What do I lose when a Run fails?
You lose bonus rewards, some Souls, unsecured loot, and found Consumables. Collected XP, permanent unlocks, Lore Scrolls, and Gear secured through Nexus Gates remain.
Should beginners play solo or co-op?
All content supports solo play. Co-op lets two players combine complementary builds and use cross-platform matchmaking, but it is not required for progression.